

Agent Auth 目前处于 Beta 阶段,正在积极开发中。如需提供反馈或使用此功能,请联系 LangChain 团队。
安装
- Python
- JavaScript
快速开始
1. 初始化客户端
- Python
- JavaScript
自托管配置
对于自托管的 LangSmith 实例,请使用实例上的/api-host 路径指定 API URL。
- 环境变量
- 显式配置 (Python)
- 显式配置 (JavaScript)
2. 设置 OAuth 提供商
在代理可以认证之前,您需要按照以下流程配置一个 OAuth 提供商:- 为您的 OAuth 提供商选择一个在 LangChain 平台中使用的唯一标识符(例如 “github-local-dev”、“google-workspace-prod”)。
- 前往您的 OAuth 提供商的开发者控制台,创建一个新的 OAuth 应用。
- 在您的 OAuth 提供商中设置回调 URL:
- LangSmith 云端
- 自托管
- 使用
client.create_oauth_provider()并传入您 OAuth 应用的凭证:
- Python
- JavaScript
3. 从代理进行认证
客户端authenticate() API 用于从预配置的提供商获取 OAuth 令牌。在首次调用时,它会引导调用者完成 OAuth 2.0 认证流程。
在 LangGraph 上下文中
默认情况下,令牌使用 Assistant ID 参数限定在调用代理的范围内。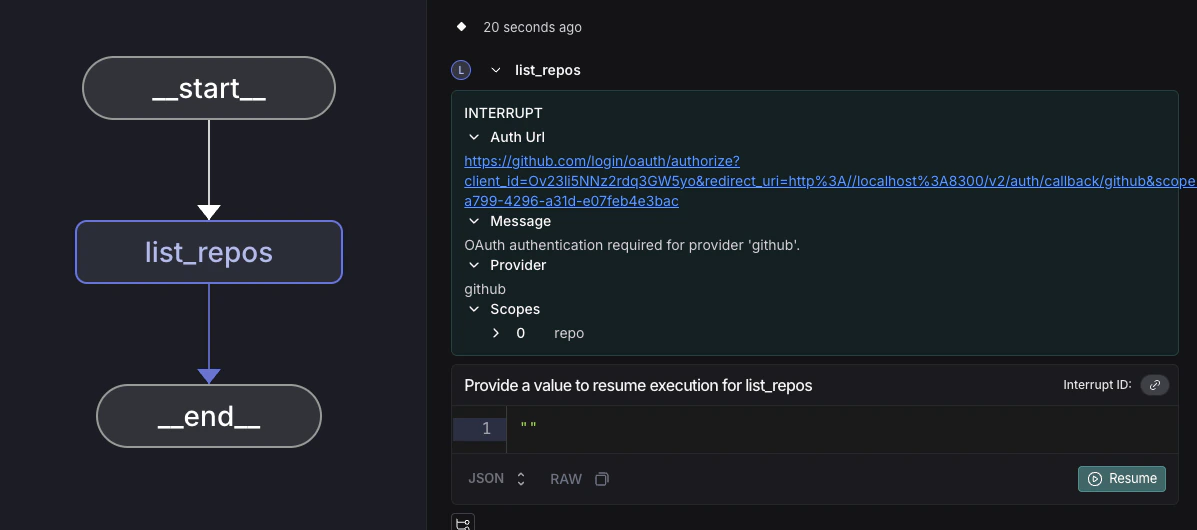
Studio 中断显示 OAuth URL
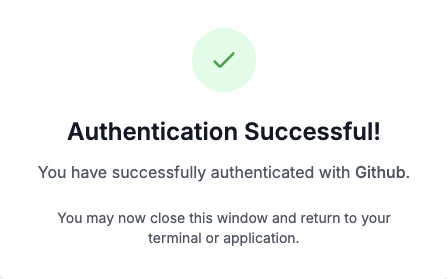
GitHub OAuth 成功页面
在 LangGraph 上下文之外
向用户提供auth_url 以进行带外 OAuth 流程。
- Python
- JavaScript
故障排除
自托管:405 方法不允许
如果您收到405 方法不允许 错误,请确保 LANGSMITH_API_URL 指向 /api-host 路径:
自托管:OAuth 回调 URL 格式错误
确保您的 OAuth 提供商的 redirect URI 与您的 LangSmith 实例 URL 匹配:Connect these docs to Claude, VSCode, and more via MCP for real-time answers.